Saturday, 28 February 2015

Hidden words

Miniature, small, tiny, hidden, secret.


The theme over at PaperArtsy is miniature art and when I think miniature the words above come to mind. A small tiny book hiding secret words.

I started with a sheet of 12z12" heavy Kraft card.  Over this I scrapped a layer of sand gel medium.  This dried transparent and gives a really fine grainy texture to the card.

Over this I added French Roast, Crackle Glaze and Nougat (all paints used are PaperArtsy paints).  I  watered the Nougat down a tiny amount to help cover the large area, in some places it was very thin and in others a bit thicker and that worked for me as I was looking to create lots of layers and texture.


 Once this was dry I gave it a good hardish sand with sandpaper to remove some of the Nougat.  I then sealed these layers with Satin Glaze. This layer sort of transformed the card into a more softer malleable medium like leather.

So we've got 5 layers on already time to add some more.  I knew I wanted to use a fairly neutral palette (my favourites) the next layer to add depth and contrast was London Night through a damask stencil, not a neat even coverage (when do I do neat and even!), but missed some areas to create the shabby decay look.  On top of this layer I added Chocolate Pudding through a dots stencil, aiming for the places where I hadn't put London Night, but also over the top of some of the damask stencilling as well.  


Now we have 7 layers and they weren't quite gelling together, the layers were too obvious and not melting into each other to create a softer colour scheme over the roughness of the sand gel (picture above) After three washes of Snowflake that softer effect was achieved (picture below).10 layers of paint and texture medium in total!


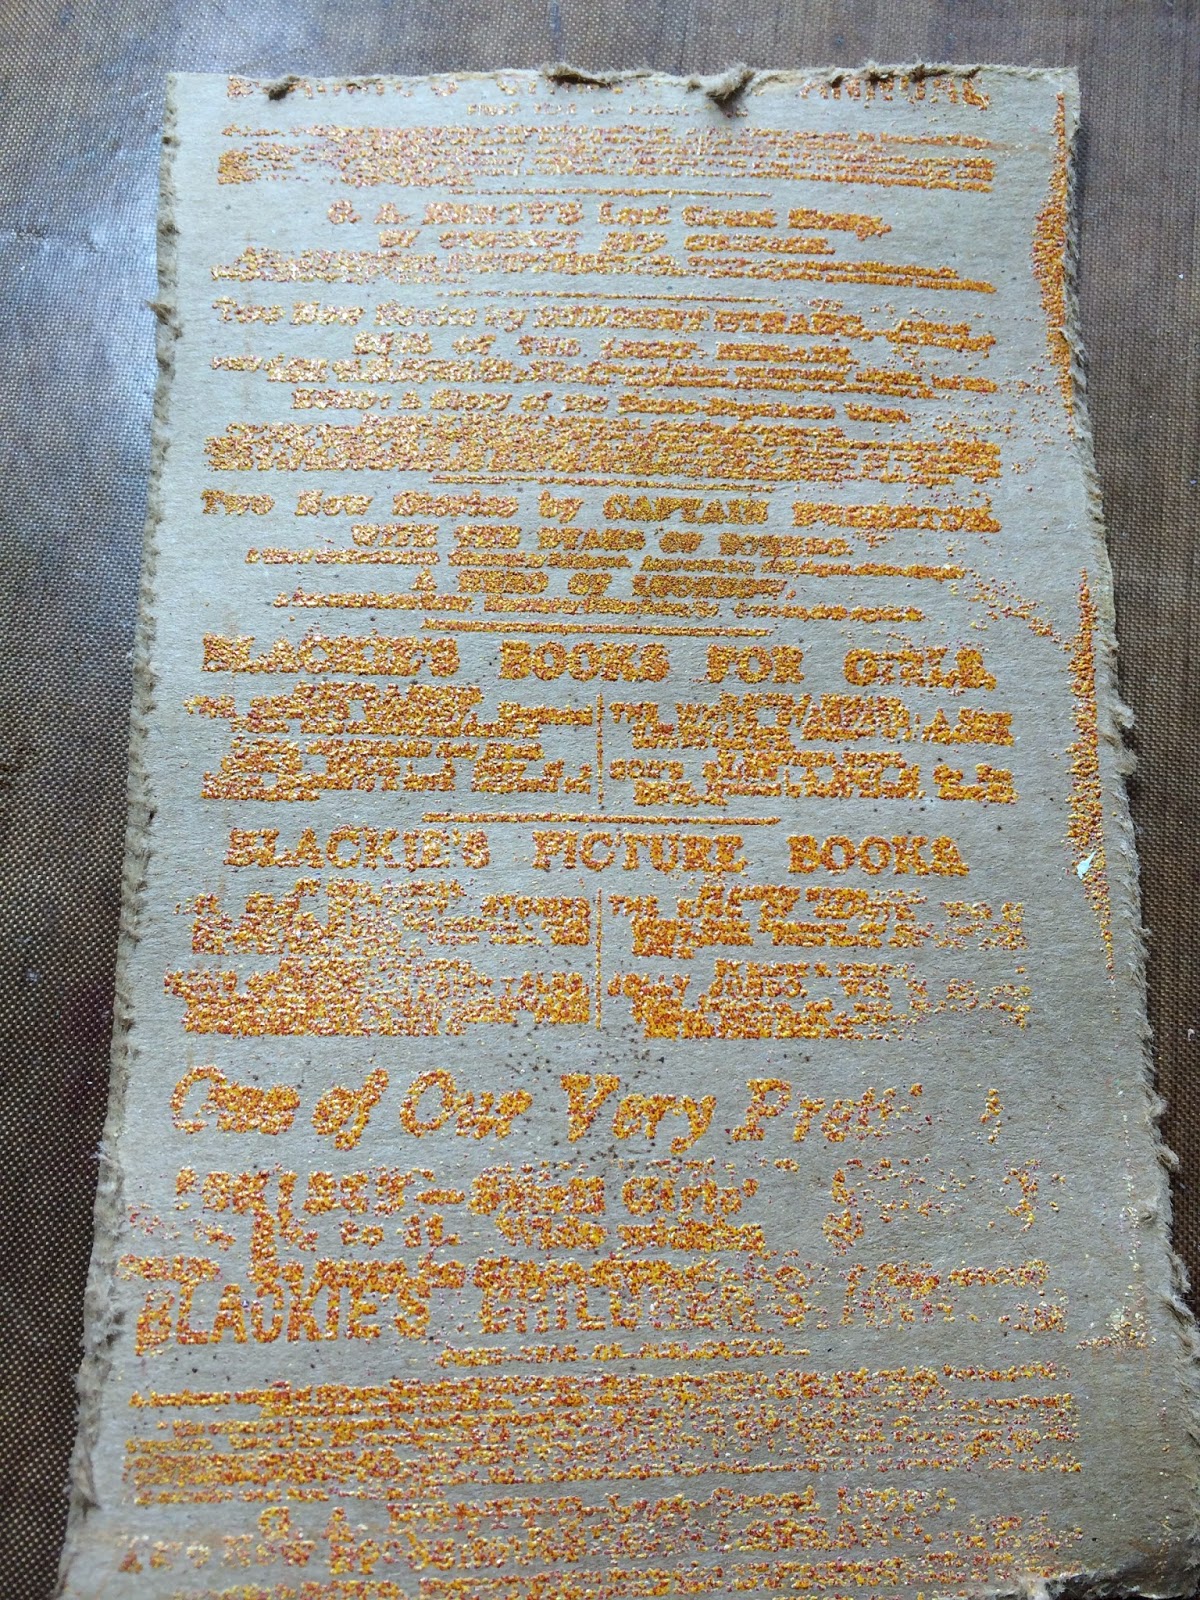
Finally some text stamping from the HP1304 plate in Coffee Archival finished the front. To soften the stamping I gently wiped the the stamping with a wet baby wipe  I painted the back of the card in Blush.


It looked so good I was sorely tempted not to cut it up, but I was brave and did. I cut 2" wide strips and then scored at 1" intervals to make a concertina folded book.  Along the folds (in and out) and the edges  I added Frayed Burlap Distress Ink.

My hidden secret word was DESIRE (I also want to make PASSION and LUST and possibly ENVY) and I knew I wanted to add layers of texture under each letter.


I used a baby wipe to smear Nougat on a spare piece of Kraft and stamped the alphabet a few times from EEG02 in Coffee Archival. For each letter there is: a piece of cream sari ribbon, some painted book text, a small piece of brown tissue paper and finally the letter.  I went over the letters in black pen just to make them stand out more. I also drew round the letter with a brown pencil to frame it.


The last thing was to add some eyelets to the front and thread though some suede ribbon.  Over the eyelets I dripped some Espresso alcohol ink and also dripped a little along the folds. 


It really is a touchy feely thing and when I make the others I may well mount them on a canvas, open, visible, no longer secret and hidden.

Hugs
Jo
xx

Wednesday, 18 February 2015

Do you remember ... (Emma Godfrey PaperArtsy stamps and JOFY paints)

I take a lot of photos on my phone which I share on Social Media (Twitter, Instagram and Facebook.  I've realised for quite a while that these Social Media sites are my scrapbook, documenting my life, the things I'm doing, the experiences I've had, the memories I want to remember.  But they often stay on my Phone or on social media and sometimes I want to actually see the photos printed and perhaps write a few notes about what the picture means to me.

So I decorated this clipboard to add mini journalling pages to and see and then collate into a scrapbook. The clipboard is approximately 6" wide and 9" in height. 

I've used one of the new Emma Godfrey stamps sets and the new JOFY paints.


I started off by painting the clip in Brown Shed and then dabbed Cinnamon.  Before it dried I sprinkled some Vintage Photo Distress embossing powder and gently heated to melt.  Remember its on metal and it will get hot! Once cooled I gently sanded to reveal the metal in places.
 
Then it was onto the front.  Painted a couple of layers of Mud Splat as a base coat and then scraped Crackle Glaze over this.  For the top layer I used Buff from the new JOFY range to get my crackles. I also sanded in places to reveal more of the Mud Splat base layer.


The first layer of stamping was the alphabet from EEG02 in Archival Tree Branch. I offset the lines of stamps so that it wasn't too regular and did repeat stamping to get the stronger (first stamping) and lighter (second and third stamping).  I then added a Chalk wash over the top to tone down the stamping.


To get some contrast and develop the used shabby look I dripped Southern Skies from the new JOFY range in the top corners.  To get those drips, dab some paint where you want the drips to start, hold the item upright and spray with water to allow the paint to run.  The more water you add, the more it will dilute the paint and the more it will run.  Alter the angle of the item to slow or fasten the paint running and have a cloth ready to mop up what you don't want.


I wanted more colour contrast, so in places I added the spot stamps from EEG02 in Prawn and the circles in Tree Branch.


I sealed the top with Matt Glaze and painted the back in Cinnamon and drips of Blood Orange.  Gave it a good sand to add scuff marks and edged the clipboard had Walnut Stain Distress Ink.


So the clipboard is done, next time I'll show you how I've been creating scrapbook pages.

Hugs
Jo
xx

P.S. my Instagram name is jomyhill and my Twitter name is jomyhill, I'm so original!


Saturday, 14 February 2015

Creating + Sharing = Happiness.

Well its the 14th February, you know hearts, flowers, romance etc. 

Let me sum up the 14th February in my house, the usual question a couple of days before is one of us will say, "have you got me anything for Valentines Day?"  If the answer is no, there's a sign of relief and if its a yes then there is either some frantic crafting or a quick trip to a card shop.  Its fair to say we don't really do it, I don't need a special day to tell the people I cherish and value that I love them.

However saying that I have made some postcards (nine to be exact) made with love that I will be sending to people to share happiness by hopefully making people smile.  There's a lot to be said for giving, it really does make you,  the giver happy, well it does me.


So I started with a 6"x4" piece of Kraft card and embossed a background stamp from PaperArtsy in Yellow and Orange WOW embossing powder mixed up. I then went over the card with Spiced Marmalade and Wild Honey Distress Inks and spritzed and flicked with water. 


I then added a thin layer of Grunge Paste mixed with a little Sand Texture paste and Yellow Submarine and Cheesecake Fresco paints (I am still getting to grips with these brights and I have to be brave). The sand texture paste gives a nice gritty texture.  When it had dried a bit I went back over with the palette knife and scraped again to give me lines. 


It was very yellow, so I added some Tango. Now it was very orange in places. Added watered down Chalk to tone it down a bit more and make it less in your face bright.  It needed some contrast so I added JOFY's new Jade colour, just a couple of dabs top right, held it upright and spritzed with water to get drips down the card. 


I added some more background stamping using a small alphabet stamp from PaperArtsy in black Versamark.  I didn't put in a block as I wanted a clear but not uniform all over stamping.  Looking to achieve the weathered worn beach side look. finally I sewed around the edge of the card with toning thread both a matte and glazed shiny thread.


The photo is one I took on an early morning walk along the beach in Peel in the Isle of Man, I have so many pictures from that morning the bright clear light and the amount of shells, seaweed and worm holes was a pure joy, all that texture and shape!


I distressed the edges and then used both Walnut Stain and Spiced Marmalade Distress Ink around the edges. It was stapled onto some stamped beige tissue paper and Chalk gently wiped around the photo to lift it from the background.

So I hope my wormy sandy heart has made you smile, it does me every time I see it and  creating these postcards makes me happy.  

Hugs
Jo


Thursday, 12 February 2015

Well who would've guessed journalling was so much fun!

Recently I had a really good day out in London with Darcy, Emma and Alison looking round art shops,eating and walking round Soho and Bloomsbury with my trusty phone map.

One of the shops we visited was Cass Art in Islington (oooh its posh round there) and Darcy persuaded me that I needed to try the paper in these art journals from Seawhite. The killer statement was "they can really handle water"  So two ended up in my shopping bag along with many other things.

The statement was true and boy am I loving it just to splosh paint around and make backgrounds on the pages, some I finish off, some I don't.  At the moment its nice just to splosh and splash.


I haven't painted the cover yet as a) I thought I'd wait and do and the end as I knew I'd get paint all over it and b) I was too impatient to start sloshing paint around.

So this is a page I did finish using Emma's lovely new stamps and lots of the new PaperArtsy paints.


First I started off gessoing the page and then a layer of China.  I then did lots of flicking with watered down paints in Blueberry. Purple Rain and Chalk.

Over this I used the Lin Brown circles stencil in Smurf. Sanded this to help the circles blend into the background and on some of the larger circles used a toning coloured pencil.

Added some text stamping using  a PaperArtsy mini and Adirondack Light Cool Peri ink. Its very very subtle but adds another layer.

The next layer was Chartreuse paint in places added with a paint brush and them moved around with the brush lightly wetted with water.  As this paint is translucent it sort of sits on top of the page, but allows the China and everything else under the Chartreuse to come through. It looks a bit scary because you've added this greeny colour (well I got a bit oh no)the final layer of paint is watered down Chalk. Start with a little amount of paint (pea size) and add about a teaspoon of water.  Using a brush slosh it and dry.  Keep adding the ash layers until you feel happy that it has blended all the layers together.  I then added some more splats of the watered down Chalk


I knew I had a photo in my extensive photo collection of a battered street sign I saw in Peel in the Isle of Man on holiday last year and as this journal is about me embracing colour and especially bright colour I thought it was an apt sign to tell me to use my creative right side of the brain more.  The sign actually says no right turn but I covered that up with two of the stamps from EEG05.


I really wanted to use all the arrows on this plate to act as a background so I first added a light layer of Blue Oyster stamped an Ellen Vargo strip background in China and then stamped the arrows in black ink, rotating them around and masking of areas where I didn't want the stamps.  I then coloured in the arrows with pencils in toning colour's.  


I painted a scrap of card in China and then stamped the frame, added the photo and stuck the banner over the top.  The "journalling" is the who, what, where, when stamp and I just edged in white pen as well as the frame just to make them stand out. 


 I'm not too in love with my writing, its much better when I'm writing sentences etc. My Dad said he could never read my writing when I sent letters home from Uni, "looks lovely Joanna but I cant read it"  Mind you he had beautiful copperplate writing.  I used to love just looking at his letters and he could write really detailed descriptions on what my brothers were doing, the cats antics and the latest Archers saga.  

I'm about a quarter of the way through the journal, so there will be more pages to show using the delicious PaerArtsy paints - look out for more colour!

Hugs
Jo
xx


Sunday, 8 February 2015

Pink Hearts using the new PaperArtsy Hot Picks stamps.

So this week has been a monumental week over at PaperArtsy with the release of the new paints and stamps from the PA talented family of designers (I don't think they all live in a big mansion and I don't think Leandra is Maria and Mark Captain Von Trapp, but hey, its an interesting idea).

Ive been lucky and have for the delight of playing with some of the new paint colours, Emma Godfrey's new stamps and the new Hot Picks and boy have they given me ideas.  So over the next few weeks you'll be seeing me use these new products to give you ideas of what you can do with them.

So today Hot Picks range.If you haven't seen nip on over tho the PaperArtsy blog to see the full range or watch the video!


 There is a lot of stamps on all the sheet, so I decided to use the whole of HPXTO6 as a background stamp.

In my new A4 art journal (thanks Darcy, the paper is good).  I created a border using washi tape. I then brayered Prawn from the new JOFY range of paints, Rose and finally Candy Floss.  I then stamped the Ink and the Dog Backgrounds Plate 5 in Archival Blue Violet Ink.

Once this had dried I stencilled a swirly design with Prawn and gave the whole page a wash of Sherbet, just to soften it. 

I finally inked up the whole sheet of HPXT06 with Claret, turned the sheet over and stamped on the page.  I love how it gives a billboard / destinations style of background.  Once I'd dried this I gave it a light sand. With Black Soot Distress Ink I lightly went round the edges and carefully (well tried too)  pulled the washi tape off. I went round the edge of the pink panel with a pencil just to add some shading and make the panel pop.


The hearts were cut from Kraft card that had some of the natural tissue paper PaperArtsy had (id forgotten I had it).  I scrunched it up then glued to the card and painted with Prawn and Candy Floss.  Stamped over in Sepia Archival with Backgrounds Plate 3 and cut out large and small hearts. On the 3 small hearts I stamped yesterday, today and tomorrow from HPXT09.


All the Hot Picks have great versatility both individually and as a whole plate, The trouble I'll have now is splitting up the plate from HPXT06  as I love it so much as one big plate - special request Maria and Captain Von Trapp, can I have a special stamping of the words in one big plate just for me?

Hugs
Jo